

How to make Thermal Label
2025-05-23
To make a thermal label, you'll need a thermal label printer, label design software, and the appropriate thermal label paper. Here's a step-by-step guide:
Step-by-Step: How to Make Thermal Labels
1. Gather Materials and Tools
Thermal printer: Choose between:
Direct thermal printer (no ink, uses heat-sensitive paper)
Thermal transfer printer (uses ribbon for longer-lasting prints)
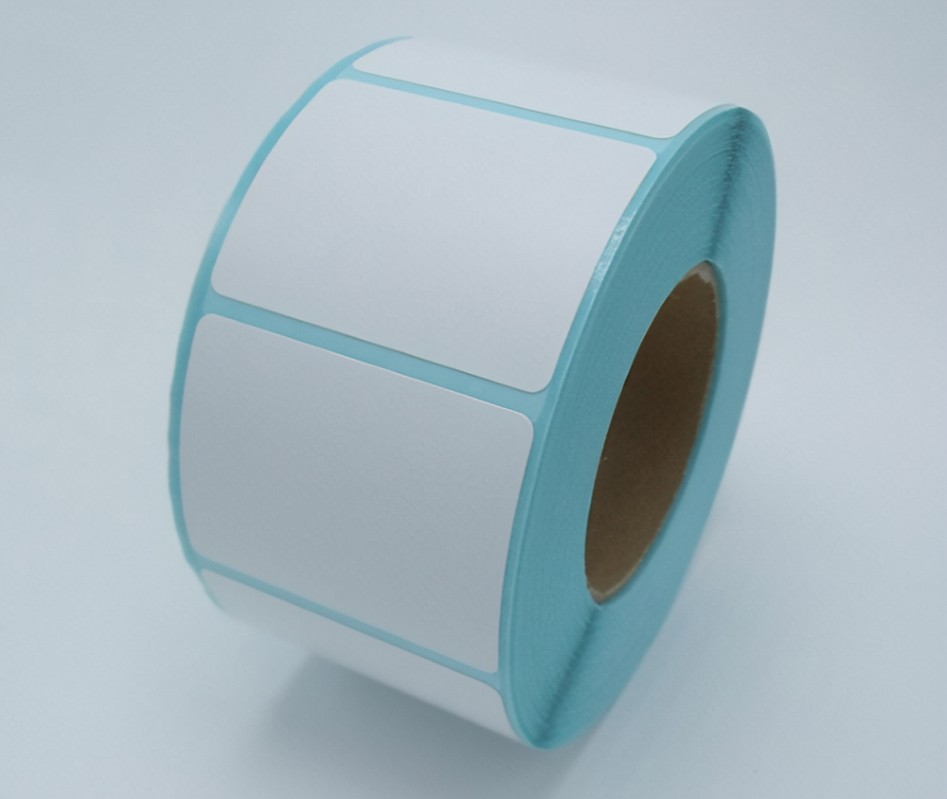
Thermal labels: Make sure they’re compatible with your printer type.
Label design software: Options include:
Free: ZebraDesigner (for Zebra printers), Bartender (Free version)
Paid: NiceLabel, DYMO Label Software, or TSC Console
Computer connected to the printer
2. Design Your Label
Open your label software.
Set your label dimensions (e.g., 4" x 6").
Add elements:
Text (e.g., product name, address)
Barcodes (e.g., QR Code, Code 128)
Logos or icons
Preview the label and save the template.
3. Print the Label
Load your thermal label roll into the printer.
Make sure the printer is calibrated (check alignment and gap sensors).
Select your printer in the software and print a test label.
Print as many labels as needed.
Tips
For direct thermal: Avoid sunlight or heat exposure—they can fade.
For thermal transfer: Use if durability (e.g., shipping labels) is required.
Always clean your printer head regularly to ensure clear printing.
If you are interested in our products or have any questions, please feel free to contact us and we will reply you within 24 hours.