

Professional Levelling Agent Guide for Smooth, Even Floors
2026-10-07
A smooth, even floor doesn’t happen by accident. It starts beneath the surface—with a levelling agent that actually performs. That’s where HAISEN comes in. Instead of chasing low spots with endless patching, professional levelling agents give you a flat, stable base for any finished floor. This guide cuts through the product hype and focuses on what really matters: mix ratios, working time, primer selection, and the application mistakes that cost you time and money. If you’re ready to stop fighting uneven substrates, read on.
Substrate Prep That Stops Levelling Failures Cold
Most levelling failures aren't caused by the compound itself—they start long before the bag is opened. A substrate that's too porous, too slick, or carrying a film of dust will sabotage even the best self-leveller. Before anything else, run a simple scratch test: if the surface powders easily or feels chalky under a fingernail, it needs mechanical profiling, not just a quick sweep. Grinding or shot blasting opens the pores and gives the leveller a mechanical key that primers alone can't fake.
Then there's the moisture trap nobody checks until it's too late. Concrete can look bone-dry on the surface while holding enough internal vapour to push a leveller off the slab within weeks. Tape down a 600mm square of clear poly sheeting for 24 hours; if condensation forms on the underside, stop. Correct the moisture source or switch to a breathable, moisture-tolerant leveller. The same goes for temperature—cold slabs below 10°C will slow the cure and create a weak, friable bond line that looks fine until traffic hits it.
Priming is where most installers either skip a step or overdo it. One thin, even coat that's been worked into the pores with a soft broom beats three heavy coats that puddle in low spots. If the primer dries to a high-gloss film, you've used too much or the substrate wasn't absorbent enough—scuff it back before pouring. Wait for the primer to go tacky, not fully hard. That slight grab is what lets the leveller bite into the substrate rather than floating on top of it.
Picking a Levelling Compound Your Floor Won't Reject
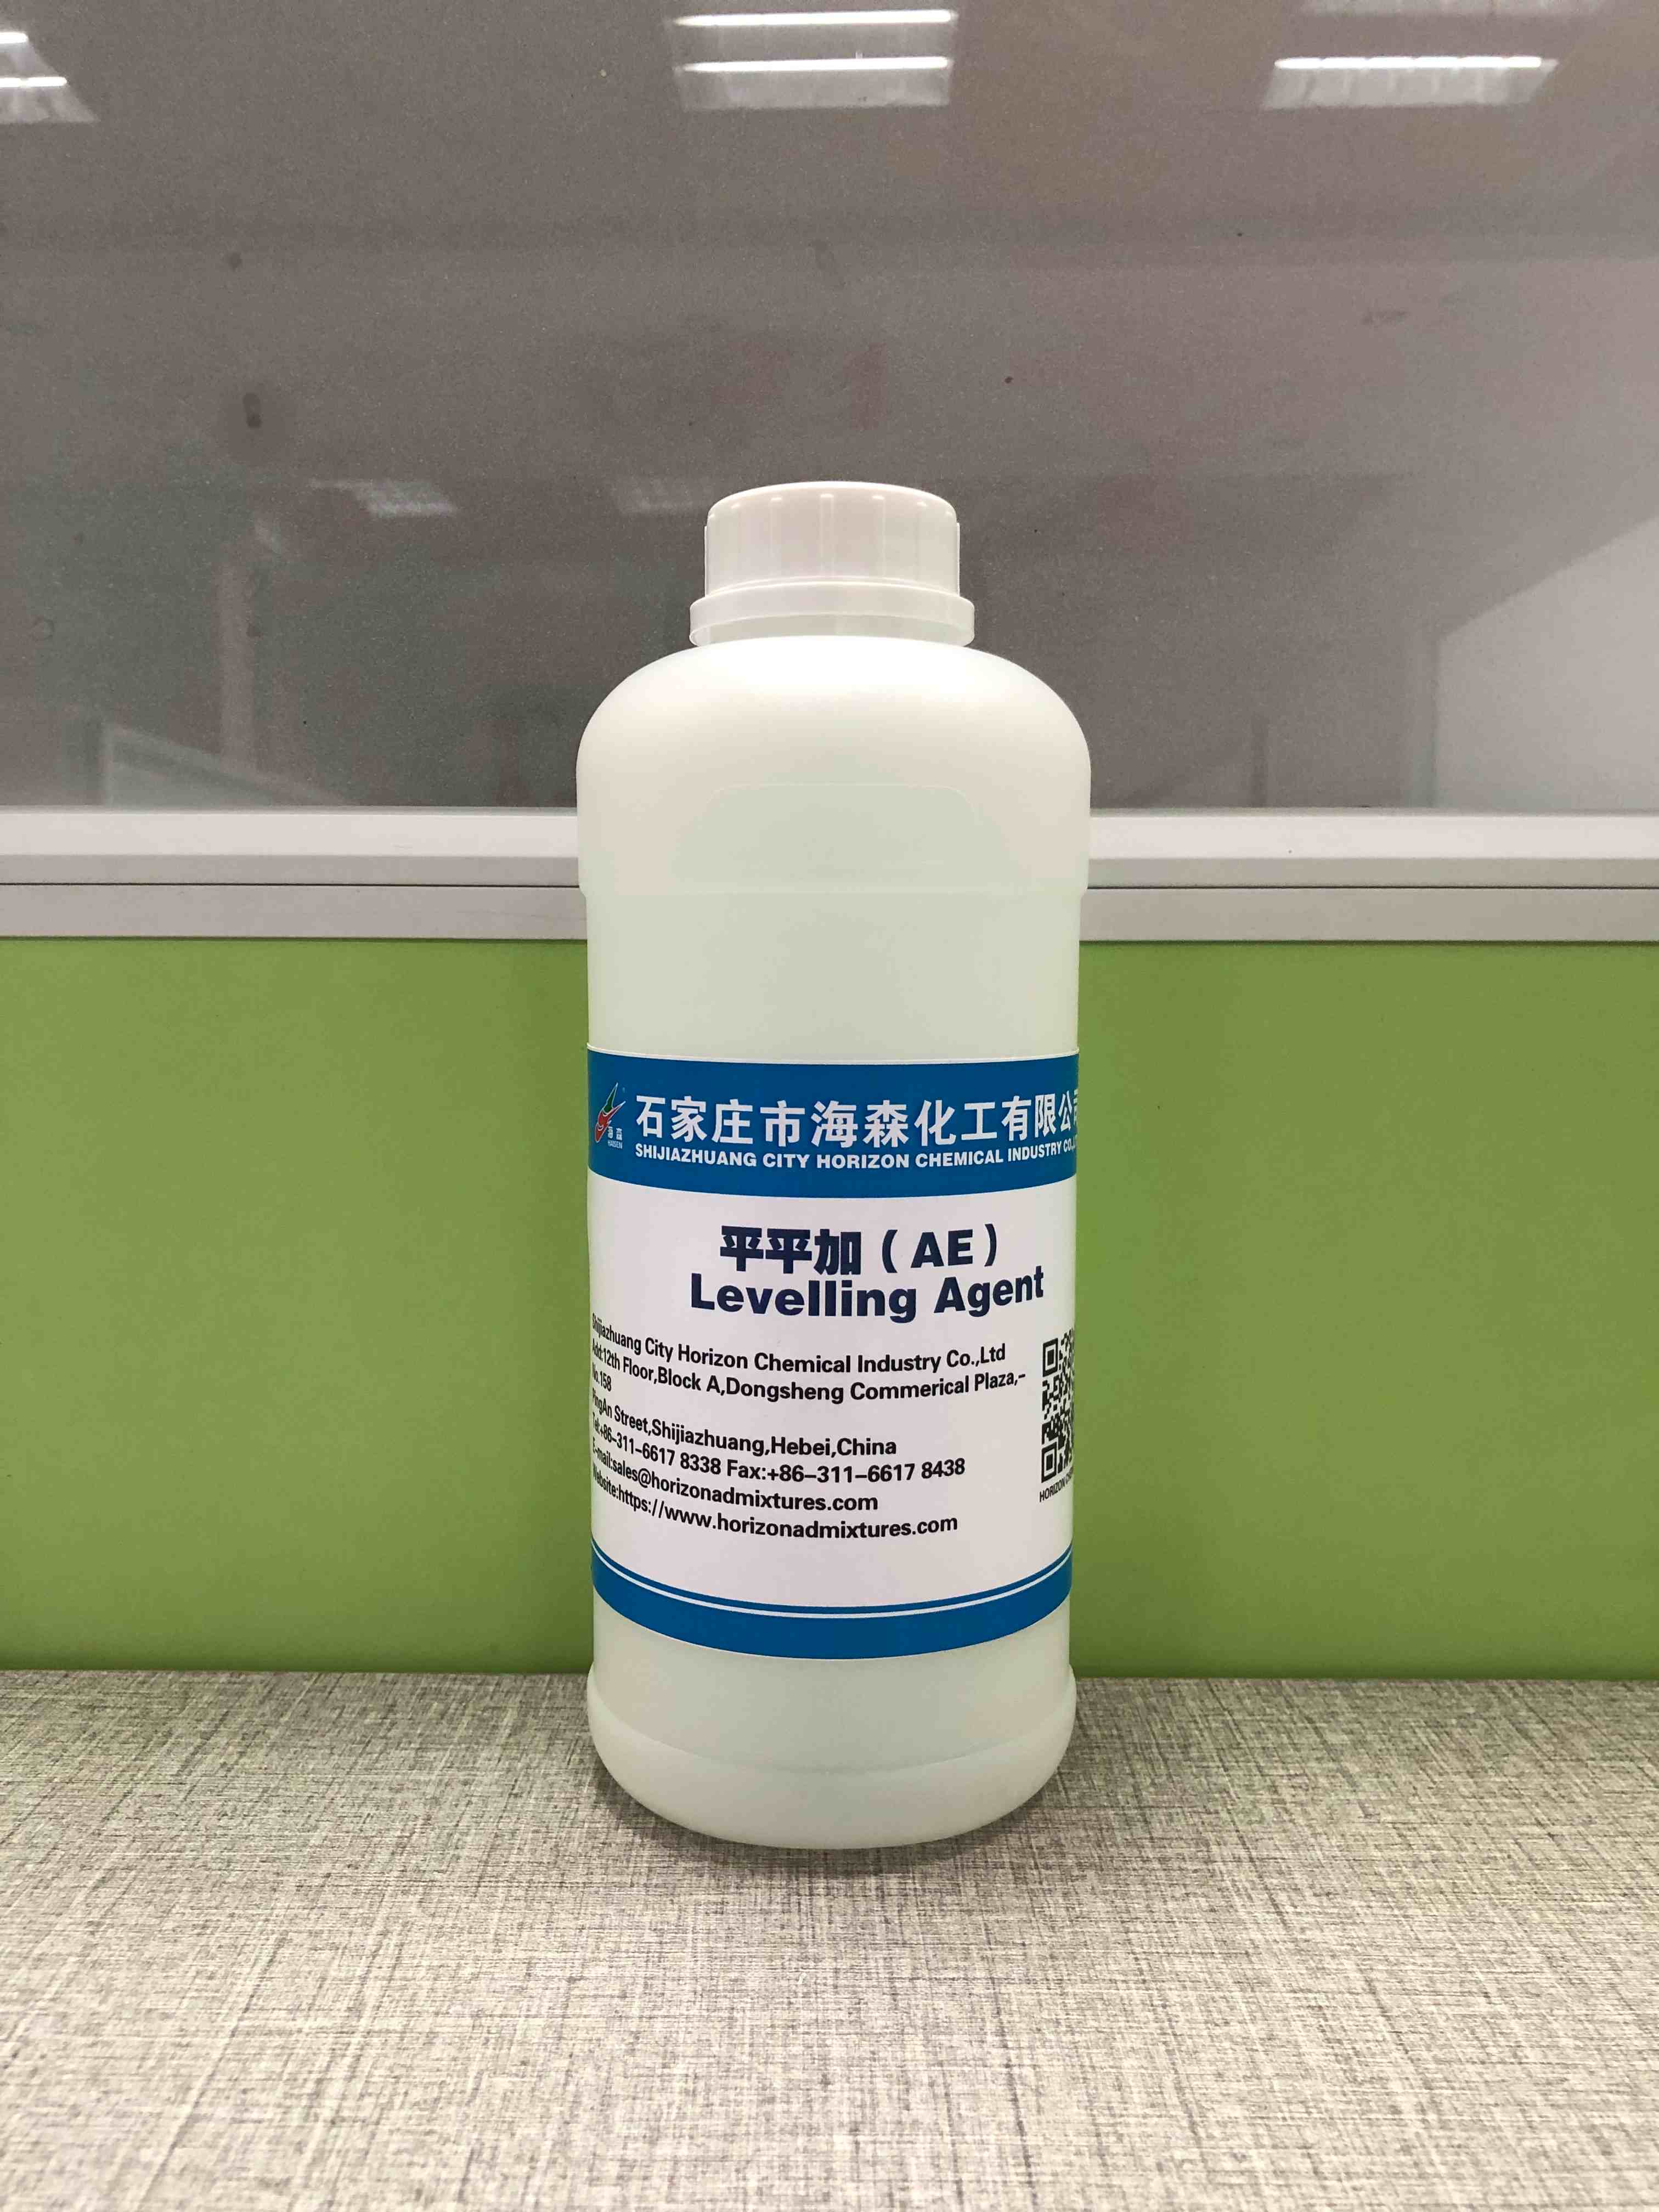
The first step isn't grabbing the cheapest bag off the shelf. Concrete, plywood, anhydrite screed, and old vinyl each interact differently with moisture and movement. A patch that works beautifully on a porous slab can peel clean off a dense, smooth substrate. Check the manufacturer's substrate list and, when in doubt, run a small test patch overnight.
Moisture and temperature also decide whether the compound bonds or fails. High relative humidity in the slab can push water-based products away before they cure, while cold surfaces slow the reaction and leave a weak surface. Use a moisture meter, not guesswork, and match the product's rated conditions. If you are covering underfloor heating, pick a compound with enough flexibility to handle thermal expansion without cracking.
Finally, consider depth and finish. Self-smoothing compounds are great for thin layers over stable floors, but deep depressions need a trowel-grade mix or a base layer. Skimping on primer is another common rejection trigger; it seals dust and controls suction, giving the compound a fighting chance to grip.
Mixing Without the Guesswork or the Lumps
Most lumpy batters come down to one avoidable habit: dumping everything into the bowl and hoping for the best. Start with your dry ingredients whisked separately so the leavening and salt distribute evenly. Then add wet to dry in stages, not all at once. That simple order removes the need for frantic scraping later.
Temperature plays a bigger role than people expect. Cold eggs or milk can seize the fat in a batter, turning a smooth mixture grainy before you even pick up a spatula. Let refrigerated ingredients sit out until they lose their chill, or warm them gently if you're short on time. A few degrees make the difference between a silky pour and a rubbery mess.
When it's time to stir, choose the right tool for the job. A flexible spatula reaches the corners where clumps hide, and a folding motion keeps air in the mix while breaking down dry pockets. Stop as soon as the streaks disappear; overworking develops gluten and ruins tenderness. Mixing becomes less about guesswork and more about noticing when the batter finally lets go of the bowl's sides.
Spreading and Finishing Moves That Hide Every Seam
A truly seamless finish doesn't come from a single tool or trick—it's a rhythm of small, deliberate moves. Start by spreading your material with the lightest possible pressure, letting it settle into corners and curves before you commit. Most people rush this stage, pressing too hard too early, and that's exactly where visible seams are born. Instead, work from the center outward in slow, overlapping strokes, almost as if you're coaxing the surface to relax rather than forcing it into place.
Once the base layer feels like it belongs there, shift your focus to the edges. Use a flexible spreader or even the side of your hand to feather the outermost line until it fades into nothing. Then, for the finishing move, go back over the entire area with a barely damp, lint-free cloth, moving in one continuous direction. This final pass picks up any micro-ridges or tool marks that catch the light differently. The goal isn't perfection on the first attempt—it's building a finish so smooth that the original seam becomes impossible to locate, even when you know exactly where it was.
What separates a professional-looking result from a rushed one is repetition with restraint. After your first finishing pass, let the surface rest for a thirty count, then check it under angled light. If you spot a faint line, don't add more product. Instead, lightly dry-spread that area again using nothing but the residual material already on your tool. Each pass should remove evidence, not introduce new texture. When done right, the seam doesn't just disappear—it becomes a non-event, a place where the eye slides past without any reason to stop.
Drying Patience and the Curing Window That Matters
A finish can feel perfectly dry to the back of your hand while still being miles away from cured. The solvents or water have flashed off, but the resin molecules are only partway through crosslinking. That gap between dry-to-touch and genuinely hard is the curing window—and it's where most impatient mistakes happen. Move furniture back too soon, and you'll see prints, cloudy marks, or a finish that peels months later.
The real trick is reading the room, not just the can. A label might say "recoat after 24 hours," but a cold, damp shop can stretch that to 48 or more. High humidity slows evaporation and can even interfere with how water-based finishes knit together. Some oil-based varnishes need weeks to reach full hardness, even though they feel dry in a day.
Patience here isn't passive waiting; it's giving the film time to lock up completely. Once the curing window closes, the surface stops being fragile and starts resisting scratches, water rings, and household cleaners. A simple test—pressing a thumbnail into an out-of-sight spot—tells you more than the clock does. If it leaves a mark, the window is still open.
Saving a Troubled Pour Before It Locks In
The moment you notice a pour starting to seize up or turn chalky, stop reaching for more paint. A thin layer of pouring medium misted over the surface can buy you a few extra minutes of working time, but the real fix is usually mechanical. Grab a palette knife or a silicone wedge and gently pull the stiffening edges back toward the center, letting the still-fluid layers underneath breathe. Work from the outside in, and don't overblend — you're nudging, not remixing.
If cells have collapsed or colors have gone muddy, a drop of silicone oil placed on the dull spots and encouraged with a low-setting heat gun can reopen the lacing without scorching the binder. Keep the nozzle at least six inches away and move it in slow circles. For areas that have started to skin over, a fine mist of 70% isopropyl alcohol softens the film just enough to drag a toothpick through and create a clean separation line. The goal is to restore intentionality, not to rescue every imperfect swirl.
Watch for the telltale sign that intervention is no longer possible: when the surface develops a matte edge and resists a gentle touch, any tool work will leave permanent scars. At that point, it's better to let the pour lock in and then sand, polish, or add a resin topcoat to disguise the trouble zone. Most flawed pours can still become interesting pieces if you stop fighting the clock and start working with what the paint is already doing.
FAQ
It fills low spots, smooths out undulations, and gives you a flat, stable base before the final floor covering goes down. Without it, minor dips and bumps in the subfloor can transfer through to tiles, vinyl planks, or wood and cause uneven wear or hollow spots.
Grab a 2-metre straightedge or a long spirit level and lay it across the floor in several directions. If you see gaps bigger than about 3 mm under the straightedge, or if there are obvious ridges or trowel marks, the floor needs levelling. High spots may need grinding, while low spots get filled with the levelling agent.
Many levelling agents are formulated for concrete and cement-based substrates, but there are also flexible, wood-rated products for plywood and OSB. For timber subfloors, you usually need a suitable primer and sometimes a reinforcing mesh to stop cracks from movement. Always check the manufacturer's substrate list before you buy.
Self-levelling compound has a fluid, pourable consistency and spreads out on its own to create a flat surface over large areas. Patching compound is much stiffer, so it stays where you put it and is better for filling isolated holes, cracks, or deep depressions before you use a levelling agent on the whole floor.
It depends on the product, but most standard self-levelling compounds are designed for thicknesses from about 1 mm up to 25 mm in a single pour. Beyond that, you either need a deep-fill formulation or you build up layers, letting each one cure and priming between coats. If you go too thick, the compound can shrink, crack, or overheat while curing.
Nearly always, yes. Priming seals the substrate, improves bond strength, and stops the dry subfloor from sucking water out of the levelling compound too quickly. Skipping primer is one of the most common reasons for pinholes, weak adhesion, and debonding later.
Most products are walkable after about 2 to 4 hours, but that doesn't mean they're ready for flooring. You generally need to wait 24 to 48 hours before installing most finishes, and thicker pours or high humidity can push that out further. Always check the residual moisture level with a suitable meter rather than guessing.
The usual culprits are an unprepared or dirty substrate, no primer or the wrong primer, mixing with too much water, pouring beyond the recommended thickness, or letting the surface dry too fast in hot, draughty conditions. Movement in the subfloor, especially over timber, can also cause cracking if no reinforcement was used.
Conclusion
A levelling agent only performs as well as the floor it rests on, and that starts with raw, honest substrate prep. Sweep, vacuum, and then grind or scarify any glossy patches until the surface feels like fine sandpaper. Repair active cracks with a rigid filler, not a flexible caulk, and prime religiously—skipping primer is the fastest way to watch a pour peel up in sheets. When selecting your compound, match its chemistry to the substrate and the expected traffic. Cement-based levellers handle concrete and exterior slabs, while gypsum-based mixes suit interior wood or dry screeds, but never damp areas. Check the working time and flow distance: a self-smoothing product with a ten-minute open time won't forgive hesitation, so choose one that fits your room size and your crew's pace.
Mixing demands cold water, a heavy-duty paddle, and a timer on your phone. Add powder to water, not the reverse, and mix for the exact duration printed on the bag—then mix again after a two-minute slake. Pour in ribbons across the floor and use a gauge rake or pin rake to spread at the recommended thickness before the surface skins over. For a seamless finish, work wet into wet and spike-roll parallel to your direction of travel, breaking surface tension without overworking. Then leave it alone. Early trafficking is the hidden killer: a floor that feels hard at four hours can still shear at the bond line. Respect the curing window, keep foot traffic off for at least 24 hours, and hold heavy loads until the full compressive strength is reached. If a pour starts to turn stiff, chalky, or shows pooling low spots, don't panic—scarify the bad section while it's still green, re-prime the exposed edge, and pour a fresh batch immediately. Timely intervention beats a full tear-out every time.
Contact Us
Contact Person: Sam Lee
Email: [email protected]
Tel/WhatsApp: 86-311-6617 8338
Website: https://www.horizonadmixtures.com/